Table des matières
//**__ERREUR A NE PAS FAIRE__**//
Attention ne pas mettre le program par défaut à une valeur supérieur à 1. Sinon la carte ne marche plus. Elle n'est pas grillé mais elle ne fonctionne plus.
http://www.cmucam.org/boards/8/topics/3291?r=3582
Je l'ai fait, j'ai cherché une solution que je n'ai pas encore trouvé.
Edit : Le problème est résolu. J'ai posté la solution dans le topics.
http://www.cmucam.org/projects/cmucam5
wiki officiel: http://www.cmucam.org/projects/cmucam5/wiki
connectique: http://www.cmucam.org/projects/cmucam5/wiki/Port_Pinouts
commande sur amazon (indisponible)
kickstarter
code github firmware
capteur image
http://www.ovt.com/products/sensor.php?id=43
brief: http://www.ovt.com/download_document.php?type=part&partid=126
explication CRA
projecteur laser
http://cgi.ebay.fr/ws/eBayISAPI.dll?ViewItem&item=131138716025&ssPageName=ADME:X:AAQ:FR:1123
http://www.buyincoins.com/item/6712.html
http://duinostore.fr/store/home/14-diode-laser-1mw-5v.html
http://french.alibaba.com/goods/laser-pointer-pattern-heads.html
http://pointeur-laser.net/pointeur-laser-vert-1mw-foyer-multi-motif.html
http://pointeur-laser.net/pointeur-laser-vert-5-mw-532nm.html
risques laser
optiques fisheye
http://www.framos.com/products/en/optics/lenses.html?141Lens_type=Miniature
installation pixy sous linux ubuntu
éventuellement:
sudo apt-get install g++ qt4-dev-tools libusb-1.0.0-dev qtcreator
dépot git: https://github.com/charmedlabs/pixy/find/master
puis:
mkdir ~/pixy
cd  ~/pixy
git clone git://github.com/charmedlabs/pixy
mv pixy src
src/host/buildpixymon.sh
sudo cp ~/pixy/src/host/linux/pixy.rules /etc/udev/rules.d/
~/pixy/bin/PixyMon
outils de dev keil mdk arm
http://www.keil.com/arm/mdk.asp
https://www.keil.com/arm/demo/eval/arm.htm
http://www.cmucam.org/boards/9/topics/2423?r=2436
Pour compiler le projet “video” fourni par le github dans le repertoire device il faut tout d'abord compiler le projet pour le cortex M0 en le mettant en faisant un “set as active project”, qui va générer le fichier “m0_image.c” manquant. Puis compiler le reste du projet.
outils de dev LPCXpresso
Il s'agit d'une interface Eclipse et il faut une licence
Pour obtenir un fichier “.hex” afin de le charger sur la Pixy via Pixymon il faut :
* Faire un clic droit sur le projet dans le “project explorer” et aller dans propertie
* Développer la partie “C/C++” puis aller dans “settings”
* Aller dans l'onglet “Build Steps” parti “Post-Build steps”
* Editer la commande et la remplacer(ou la mettre en commentaire avec #) par :
arm-none-eabi-size  {BuildArtifactFileName} >
 {BuildArtifactFileName} ${BuildArtifactFileBaseName}.hex
* Appliquer et faire de même pour la configuration Debug/Release (voir menu déroulant du haut)
autres outils de dev à tester
http://www.lpcware.com/category/project-categories/lpc43xx (il faut une licence)
http://embeddedcodeshare.blogspot.fr/
https://github.com/micromint/mbed-lpc43xx (ne sais pas comment ça marche)
https://github.com/charmedlabs/pixy/tree/master/device/pixyflash (juste un projet)
carte pixy
divers doc: http://www.cmucam.org/projects/cmucam5/documents
schematic V1.2 (on a la 1.3): http://www.cmucam.org/documents/26
datasheet flash 8 Mbits: http://pdf1.alldatasheet.com/datasheet-pdf/view/443804/WINBOND/W25Q80BVSNIG.html
chargement firmware en usb: http://cmucam.org/projects/cmucam5/wiki/Uploading_New_Firmware
prototype avec camera ueye
http://www.altavision.com.br/Datasheets/IDS_EN/UI-1226LE.html
http://www.prolinx.co.jp/supplier/IDS/uEye_Manual_En/index.html?hw_gige_le_pin_molex.html
http://www.prolinx.co.jp/supplier/IDS/uEye_Manual_En/index.html?hw_usb_le_beschaltung_ausgang.html
ULN2803 pour ampli courant d'alimentation des diodes laser: http://www.eleccircuit.com/uln2003-control-stepper-motor-by-parallel-port/
pour acquisition image
utiliser une raspberry avec l'appli QT a développer pour acquérir des images sous l'eau.
le tout sur batterie dans boite étanche
réglage des params d'exposition: http://cmucam.org/boards/8/topics/2858
d'après http://cmucam.org/boards/8/topics/2303
frequence pixel (laquelle, CAM_PCLK ou XCLK) = 204Mhz/5 = 40.8
code assembleur pour sauter certains pixels:
https://github.com/charmedlabs/pixy/blob/master/device/libpixy/frame_m0.c
carte ftdi pour debug serial: https://www.sparkfun.com/products/718
fonctionnement interface camera sur la pixy: http://cmucam.org/boards/8/topics/2303
build: http://www.cmucam.org/projects/cmucam5/wiki/Building_Pixy_Firmware
upload firmware: http://www.cmucam.org/projects/cmucam5/wiki/Uploading_New_Firmware
vielle version wiki avec plus d'infos: http://www.cmucam.org/projects/cmucam5/wiki/Wiki?version=37
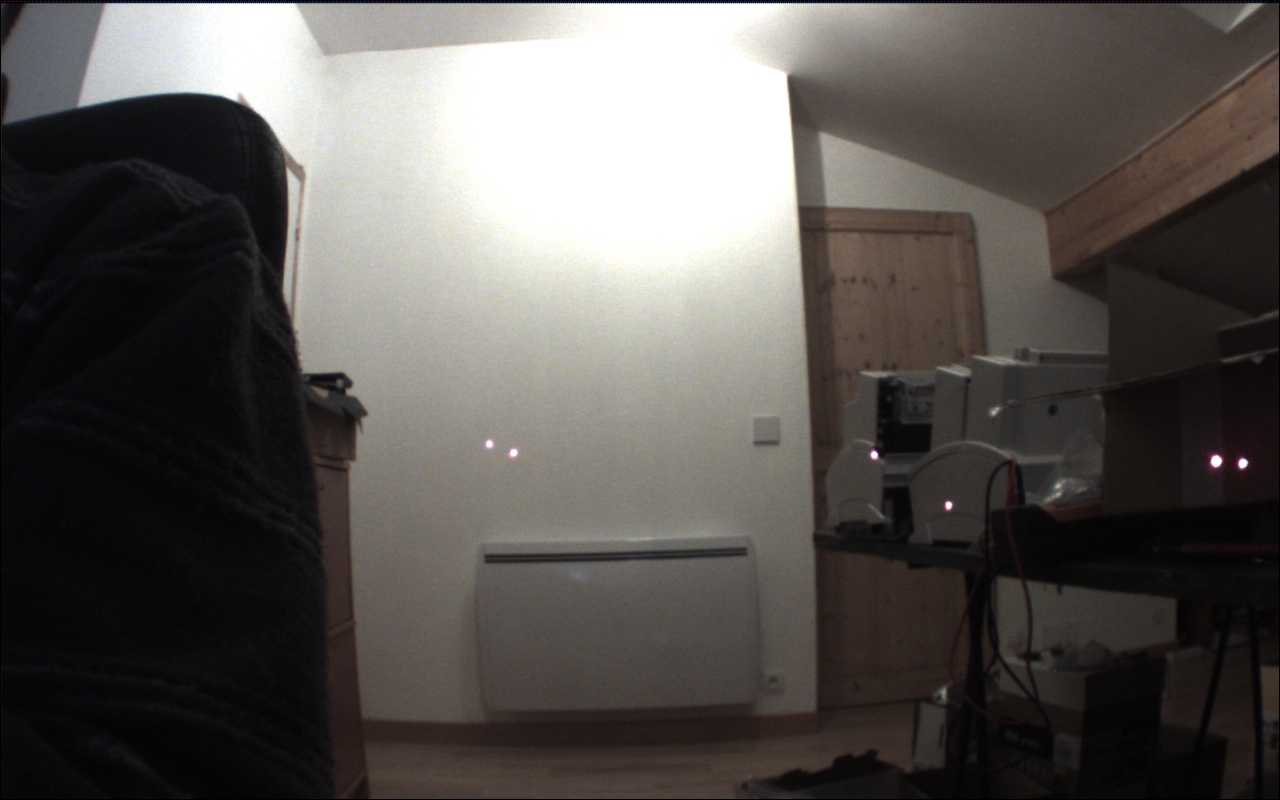
Image en full resolution
Les points laser sur le mur d'en face sont à 3m
l'image est acquise en 16 bandes de 1280*50 pixels
2 bandes noires au sommet de la première bande pour l'identifier.
La qualité d'image n'est pas très bonne car les conditions d'illuminations sont défavorables.
pour automatiser le chargement du firmware à chaque connexion
lancer
piximon -firmware /home/bvandepo/pixy/video.hex
dans le projet QT:
project-> paramètres d'execution-> Arguments: -firmware /home/bvandepo/pixy/video.hex
